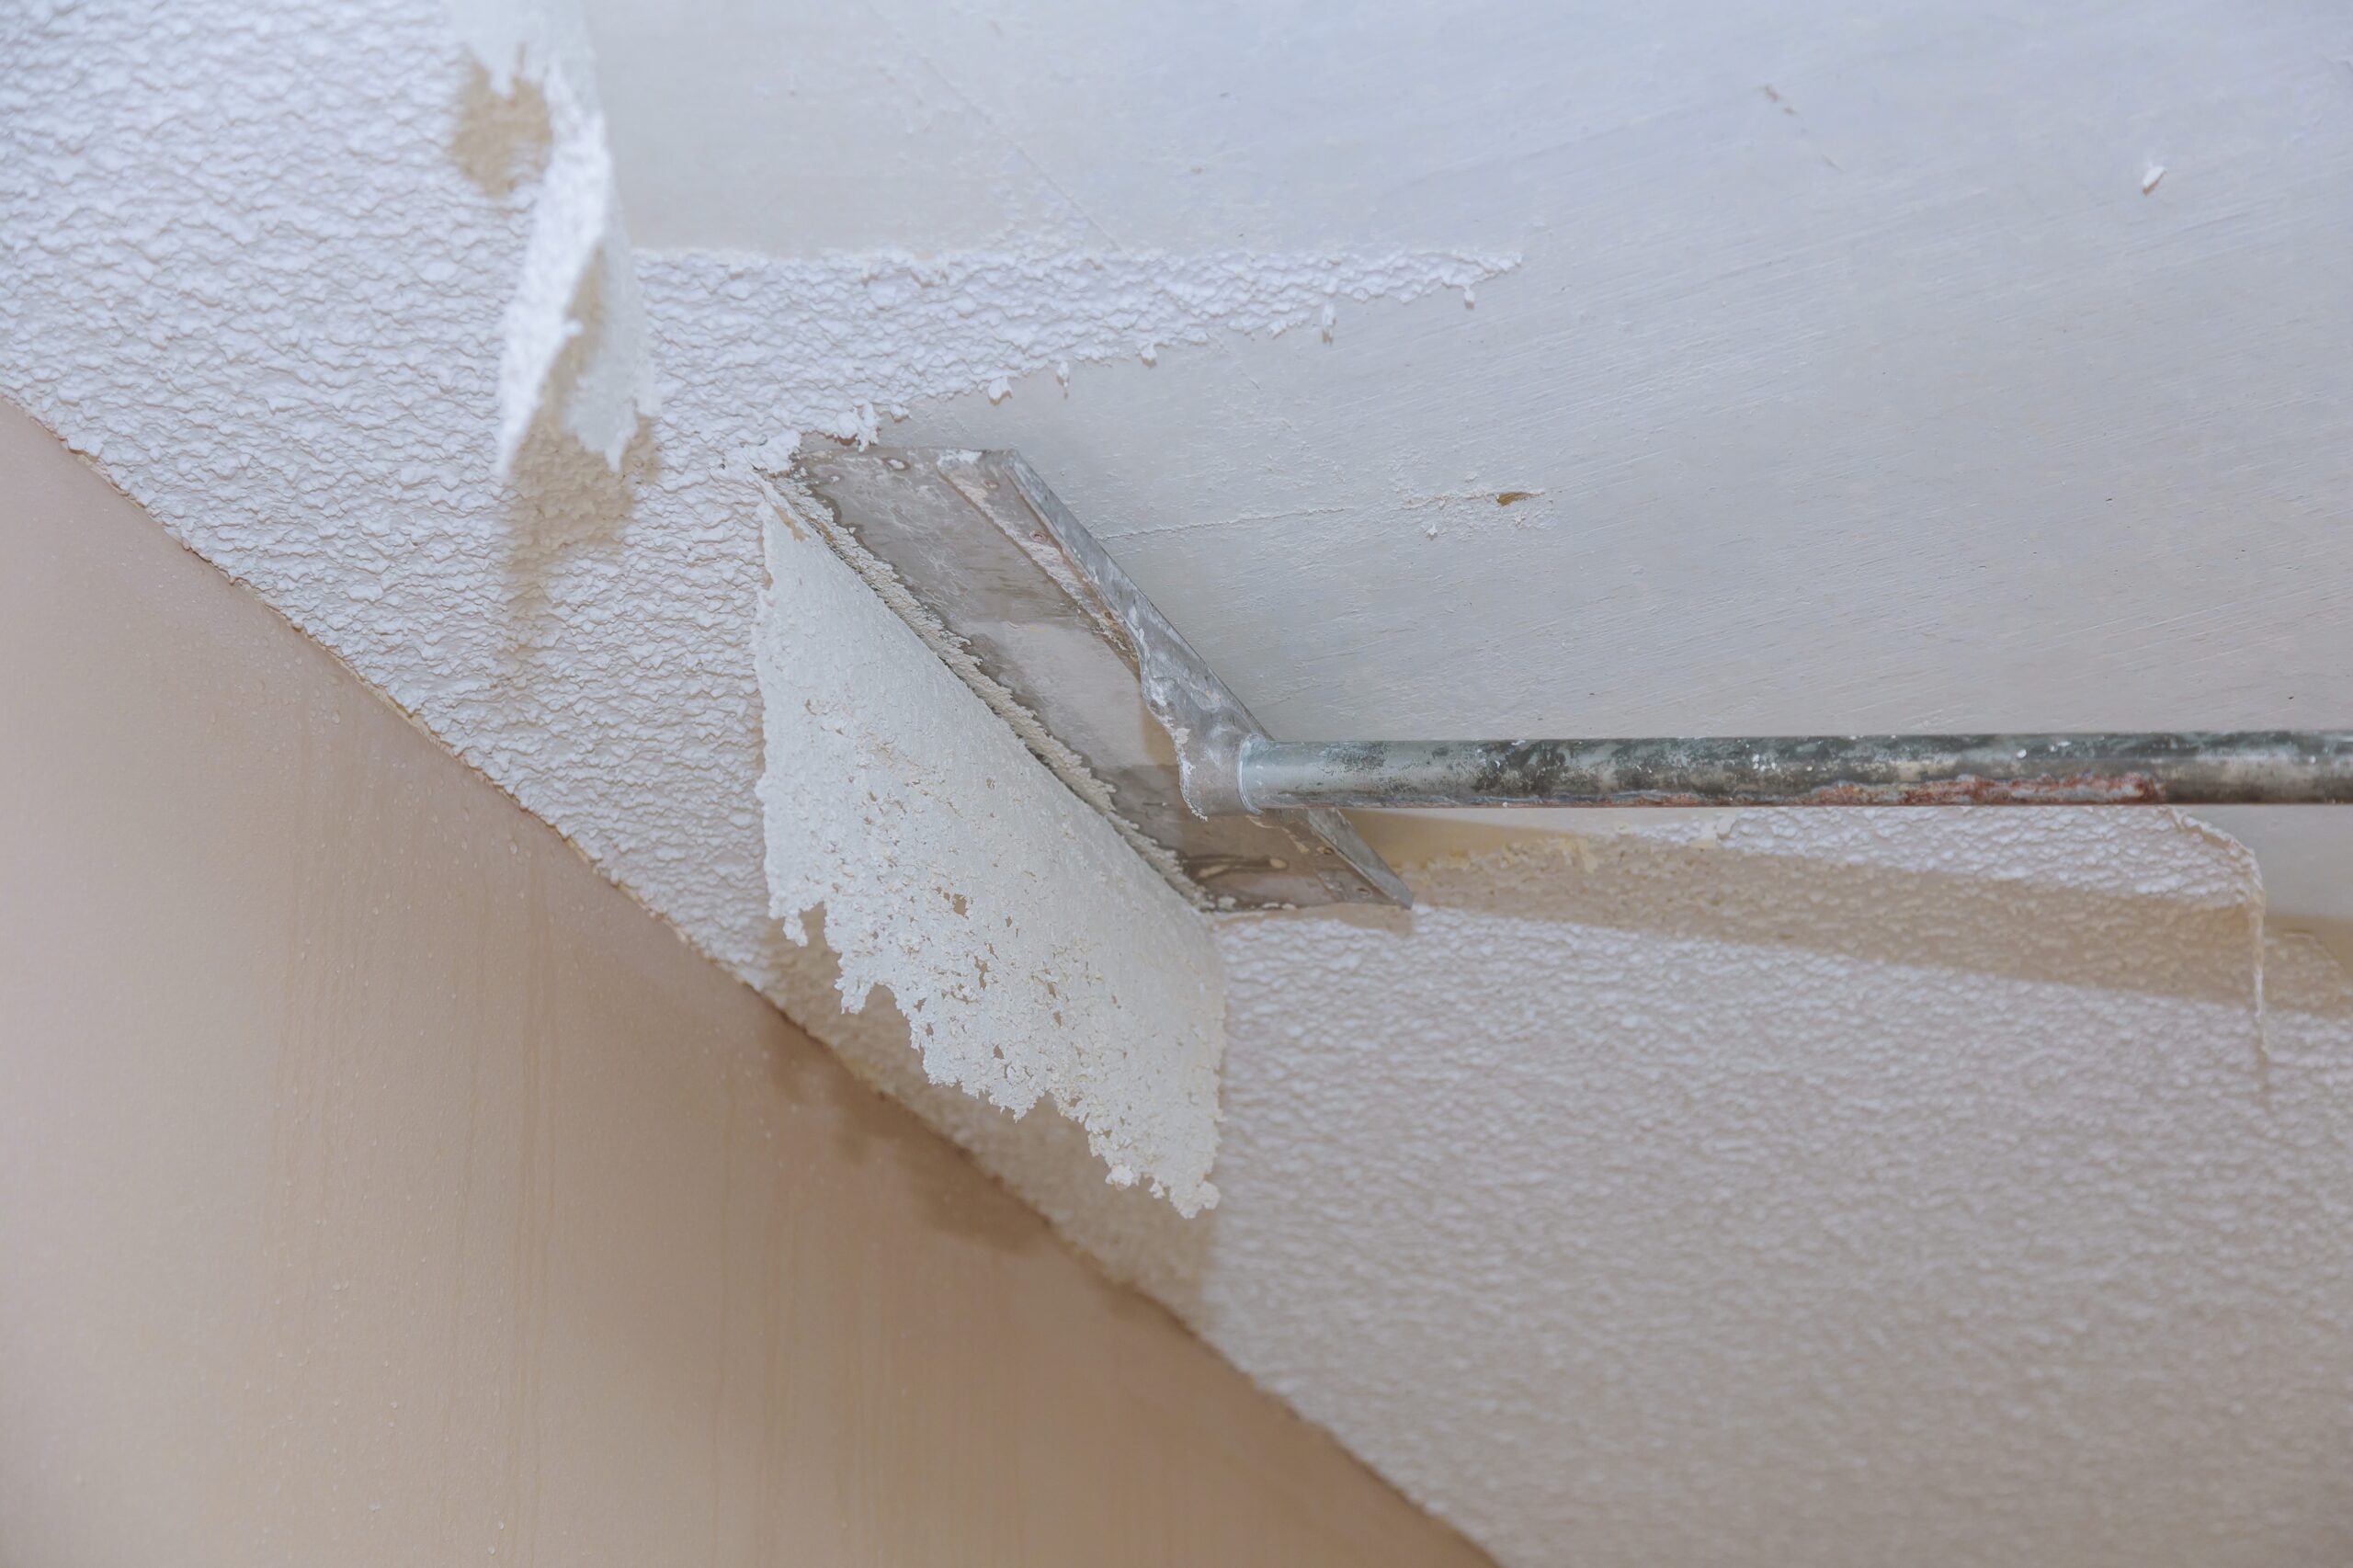
At Sustainable Painters, we have been doing a lot of popcorn ceiling removal as of late, and I figured I would write a quick note on the process and potential hazards.
If you’re wondering whether you have a popcorn ceiling and what exactly I’m referring to, a popcorn ceiling (also known as a stipple ceiling or acoustic ceiling) is a ceiling with one of a variety of spray-on or paint-on treatments. The bumpy surface is created by tiny particles that give the ceiling sound-deadening properties.
So what does it take to remove a popcorn ceiling? Here are the steps we follow:
1) Check for Asbestos
If your house was built prior to 1990, there is a chance your popcorn ceiling has asbestos and should therefore be checked prior to being removed. Please reach out for the process of taking a sample, or simply have a testing centre like Winnipeg Air Testing come and collect a sample themselves.
2) Check if your stipple ceiling has already been painted
If your popcorn ceiling has already been painted, an oil primer would likely have been used prior to painting. This involves a bit more work that we won’t go into detail with in this post, so for now we will break down the process for unpainted popcorn ceilings.
3) Prepare the rooms
Everything in your rooms will need to be covered in plastic (walls, floors, fixtures, etc) and light fixtures will need to be removed from the ceiling.
4) Soak the popcorn ceiling
We use an airless paint sprayer filled with water to lightly soak the entire ceiling area. Then we leave the ceiling to soak for 2-5 minutes before starting to scrape.
5) Scrape ceiling
You can use any putty knife to remove the popcorn ceiling. It comes off rather easily and almost looks like oatmeal when scraped off into a garbage bag. We usually use a larger 10-12″ trowel to speed up the process.
6) Sand the ceiling
After the popcorn has been removed, the ceiling will still be rough and a number of the imperfections in the drywall will be exposed (as builders often used textured products – like popcorn coatings – to hide ceiling imperfections). This is why we sand everything down to create a seamless, smooth surface.
7) Skim-coat the ceiling with mud
As mentioned, the ceiling under a popcorn coating often has imperfections, with mud and tape seams showing. This is why we skim-coat the entire ceiling with drywall mud to blend out any imperfections.
8) Sand, prime and paint
As you can see, this process can be timely and to do the job correctly takes some finesse and patience. However, if you want the smooth look and finish of a flat ceiling, this is the best process to achieve your desired results.
Thanks for reading!

