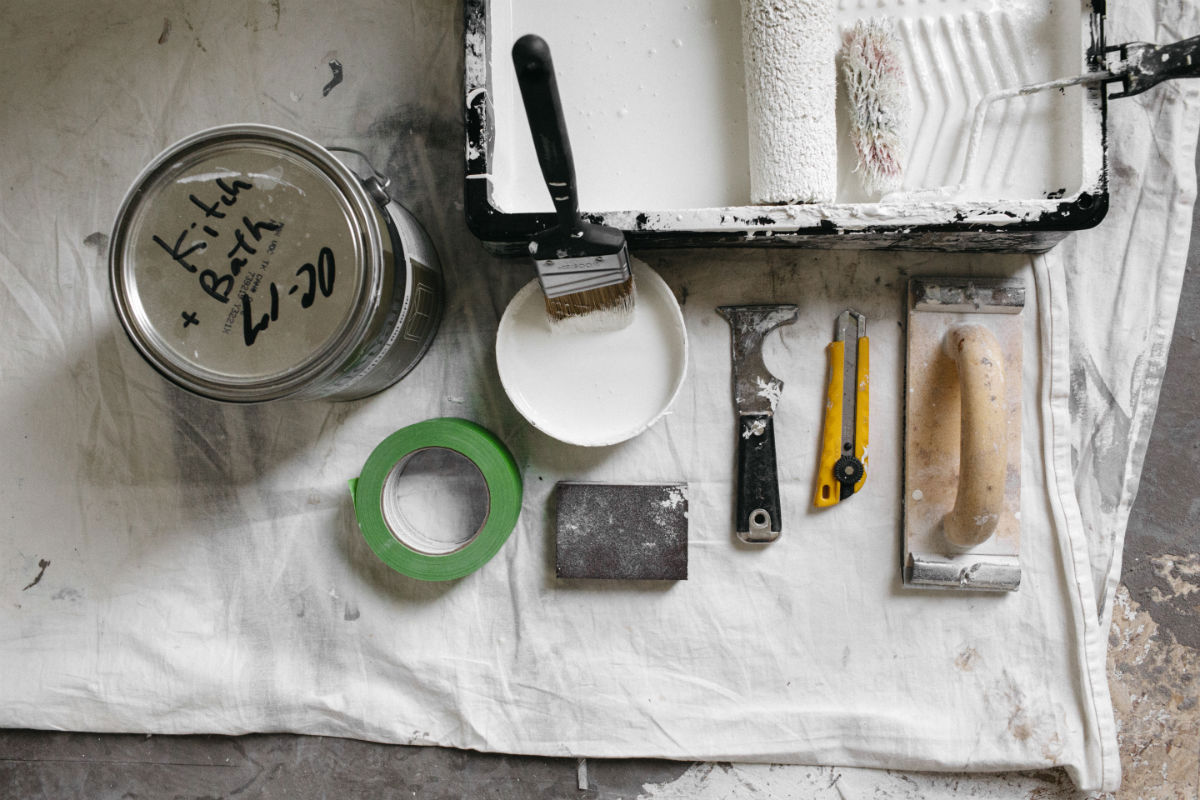
Ok, I thought that I would throw up a few DIY tips for homeowners that do not want to hire a professional painter.
I will start with sequencing. Sequencing your project (knowing what order to pursue different tasks) will help reduce anxiety and gauge your timeline. I will start with interior projects for today:
- First, always repair any cracks, dings, or nail holes with standard DryDex, drywall mud, or plaster.
- Sand and prime repaired areas (unless you are dealing with textured plaster – but that will be another blog entry).
- Now you are ready to paint! (after carefully placing your drop cloths)
- Always paint ceilings and trim/baseboards first
- You can be a little messy with your lines because you are going to cut in clean, crisp lines on you walls later
- Once your trim and ceilings are painted, you can start cutting in your walls (if you choose to use painters tape, I will do a blog post on the appropriate use of painters tape later.)
- Always ‘cut in’ with your brush first around all your edges, and then roll out your walls second. I would recommend doing first coat of edging, then first roll, followed by second ‘cut’ (or edging) and then final roll.
- I will do another blog post on “rolling like the pros”
That’s it for sequencing an interior paint project. We hope you found it helpful!

